The Nano Banana hairstyle prompt, front and side
Describing a haircut in words gets you the category. Attaching a photograph of it gets you the haircut. Nano Banana accepts both, plus your side profile, which is where a fade actually lives.
8 MIN READ·UPDATED August 2026
Nano Banana is the name that stuck to Google’s Gemini image model, and the thing it does that matters here is take several photographs in one request. That buys you two upgrades over a single-photo prompt: your own side profile, and a picture of the haircut instead of a description of it.
Three images are attached.

IMAGE 1 — me, facing the camera. This is the face to keep.
IMAGE 2 — me, side profile, same session, same light. Use this one only for my
  ear position, my hairline at the temple, and the shape of the back of my head.
IMAGE 3 — a photograph of the haircut I want.

TASK
Return IMAGE 1 again, wearing the haircut from IMAGE 3.

FROM IMAGE 3, TAKE ONLY
The silhouette, the length, the fade height and how hard it blends, the fringe
shape, the part, and the direction the hair is styled.

FROM IMAGE 3, TAKE NOTHING ELSE
Ignore that man's face, bone structure, skin tone, hair colour, age, build,
clothing, background and lighting completely. He is a diagram of a haircut, not
a person to blend me with.

KEEP FROM IMAGE 1
Face, jawline, nose, eyes, eyebrows, ears, lips, teeth, skin tone, skin texture,
moles, scars, facial hair, glasses, clothing, background, the direction of the
light, and the colour grade.

DO NOT
Do not recompose, re-crop, zoom, or change the camera angle of IMAGE 1.
Do not smooth skin, whiten teeth, slim the face, or change my apparent age.
Do not change my hair colour to match IMAGE 3. My hair colour stays.
Do not change my curl pattern unless the cut in IMAGE 3 requires it. If it
  does, say so in one line before you show me the image.

OUTPUT
The full frame of IMAGE 1, same aspect ratio, same head position and size.
Attach all three images in this order before you send it. The order is load-bearing: the prompt refers to them by number and Gemini follows the numbering rather than the file names.
The three images
Image 1 and image 2 are you, taken in the same few minutes under the same light. If they were shot on different days in different rooms the model gets two slightly different men and splits the difference between them. There is a short guide to shooting both properly: the two photos to take first.
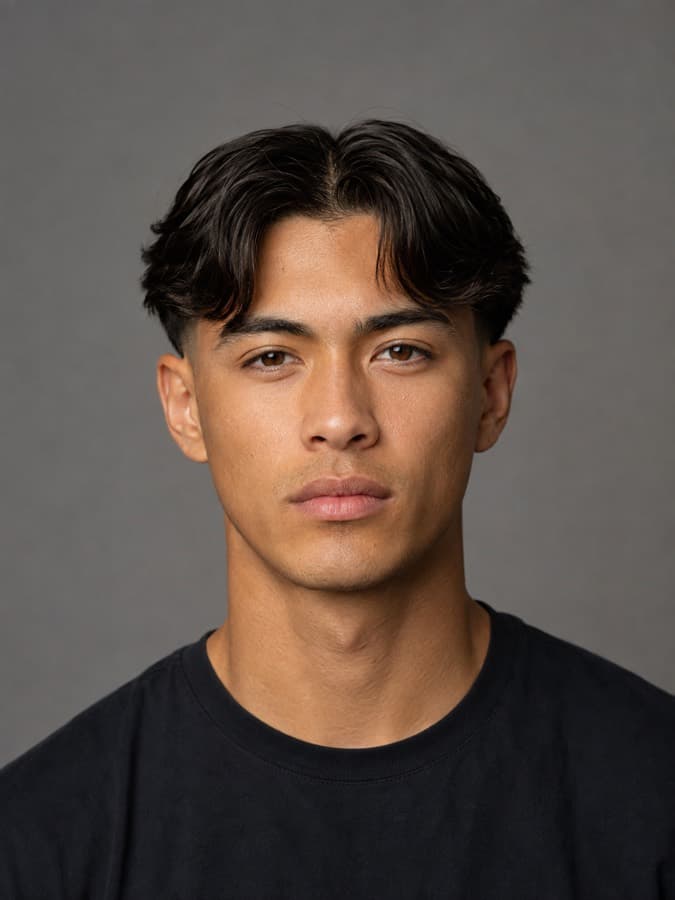
Image 3 is the haircut, and it does not need to be a model or a professional shot. It needs to show the cut clearly, ideally from an angle close to the one you are rendering. A side-on reference is worth more than a front-on one for anything with a fade, because the fade is the part you cannot describe accurately and the part a photograph specifies instantly.
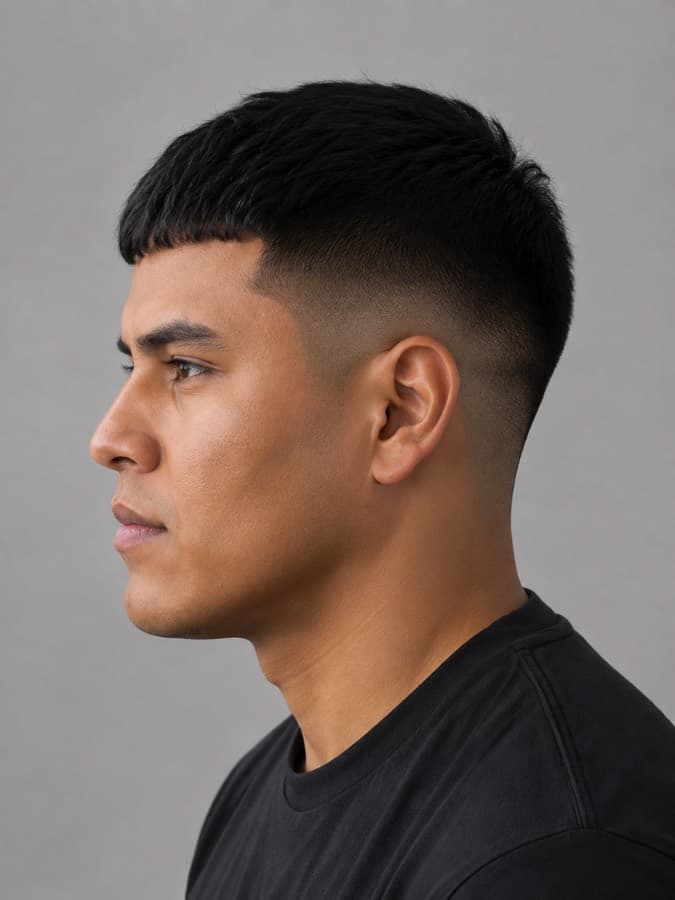
Why a photograph beats a description
Written descriptions land you somewhere inside a category. “Textured crop” covers about four inches of length and half a dozen fringe shapes, and the model resolves that ambiguity by averaging everything it has ever seen under the label. You get a textured crop. You do not get the one you were picturing.
A reference photograph removes the ambiguity in one move, because the silhouette is no longer a word. This is the single largest quality jump available in any of these tools, and it is also why the app behind this site keeps a reference image behind every cut rather than relying on the cut’s name.
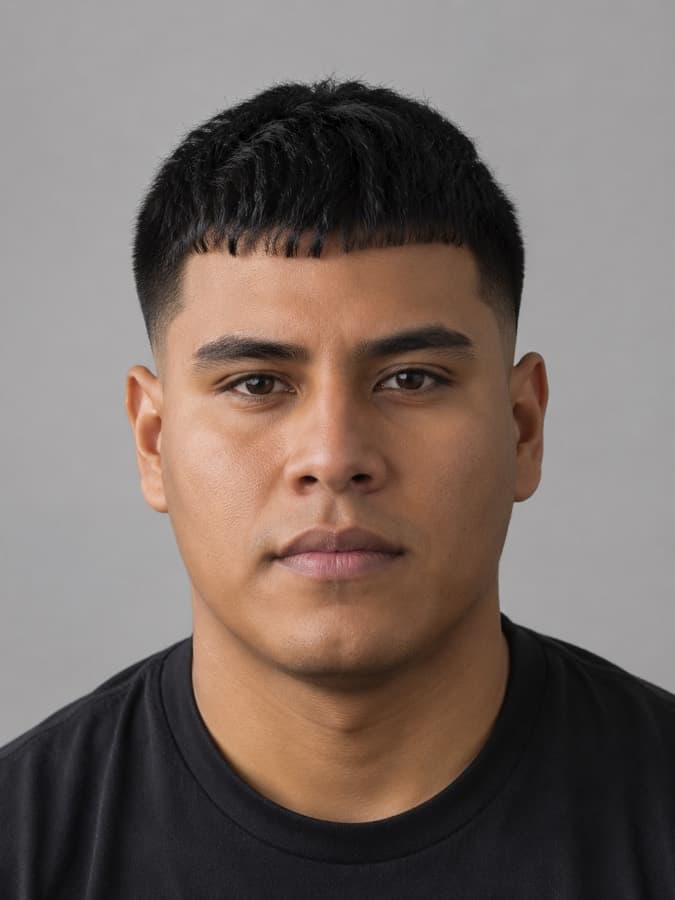
Stopping the bleed
Hand a model two faces without saying which is which and it will average them. That is the whole reason for the block telling it what to ignore, and it is the block people leave out.
- Hair colour is the first thing to leak. If your reference is a blond man and you are dark-haired, expect to come out lighter unless you forbid it by name.
- Texture leaks second. A reference showing dead-straight hair will straighten your waves without mentioning it, which makes the render useless: you would need a blow-dryer and ten minutes every morning to get what it just showed you.
- The face leaks last, and worst. Usually as a subtle narrowing of the jaw or a change in the eyes. If your render looks right but feels wrong, this is where to look first.
Getting the side view as well
The front render answers whether the cut suits you. The side render answers what your barber is actually doing, and it is the one nobody generates. Send this straight after the first result, in the same conversation, so the model still has its own output to match.
Now render the same haircut on IMAGE 2, my side profile.

Same rules as before: keep everything about the man in IMAGE 2 and change only
the hair.

The haircut must be the SAME cut you just rendered on IMAGE 1 — the same fade
height, the same length on top, the same fringe, the same neckline — seen from
the side. This is one haircut photographed twice, not two haircuts.

Make the fade height readable: where the shortest point sits relative to the top
of my ear, and how far up the blend runs before it reaches full length.

Do not recompose or re-crop IMAGE 2. Keep my face, ear, skin, facial hair,
glasses, clothing and background exactly as they are.
Compare the two before you trust either. If the fade sits at the temple in one and above the ear in the other, the model rendered two different haircuts and you should run it again.
What it still gets wrong
- The two renders do not always agree. Nothing forces consistency between one generation and the next. You are asking politely, and roughly a third of the time you get two related but different haircuts.
- Aspect ratio follows image 1. Whatever shape your front photograph is, the output is that shape. Crop your source to what you want back before you start rather than after.
- The reference still bleeds. The ignore block reduces contamination a great deal and does not close it. Colour is the leak that survives most often.
- You still have a picture, not an instruction. Two renders, no guard numbers, nothing your barber can work from. That gap is a separate problem with a separate prompt.
Questions
- What is Nano Banana?
- It is the nickname that stuck to Google's Gemini image editing model, and Google now uses the name itself. The part that matters for haircuts is that it accepts several reference images in one request, so you can hand it your face, your profile and a photograph of the cut you want at the same time.
- Can I give the AI a picture of the haircut I want?
- Yes, and it is the single biggest improvement available. A written description lands you somewhere inside a category that can be four inches wide. A reference photograph pins the actual silhouette. You have to explicitly tell the model to take only the hair from that image, or it will pull the reference man's colouring and sometimes his features across too.
- Why does the AI make me look like the man in the reference photo?
- Because you gave it two faces and did not say which one to keep. Label every image by number in the prompt, state which one is you, and add an explicit instruction to ignore the reference man's face, skin tone, hair colour, build and clothing.
Or skip the prompt and let it do the whole job.
FreshCutz runs this with both photos instead of one, with a reference photograph behind every cut so the style lands where you asked, and it hands back the guard numbers with the render. Two photos, about a minute.
First one free · 6 for $2.99
SEE IT ON YOUR FACE — FREECuts to run it on
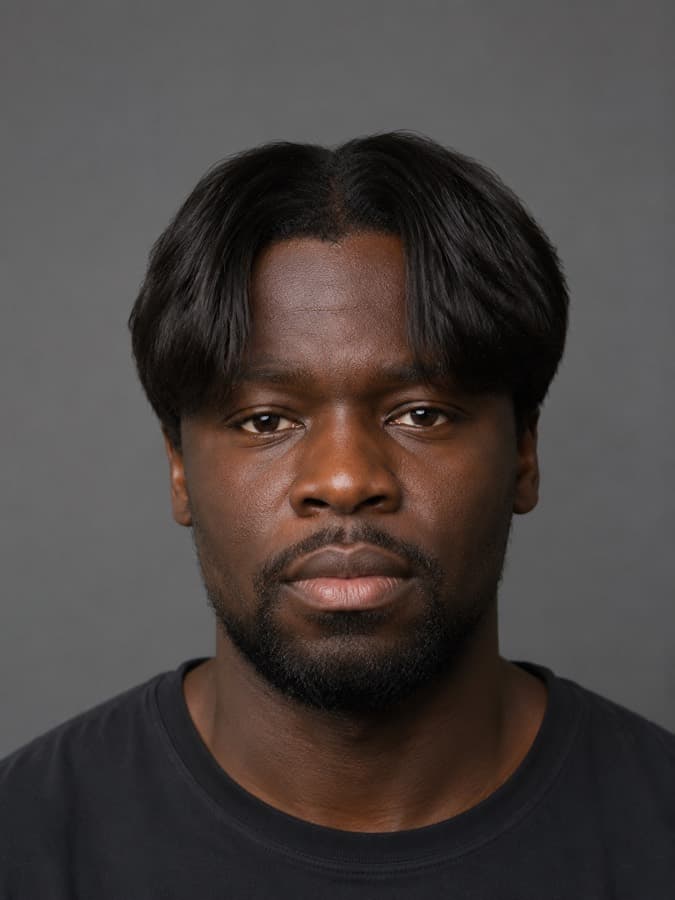
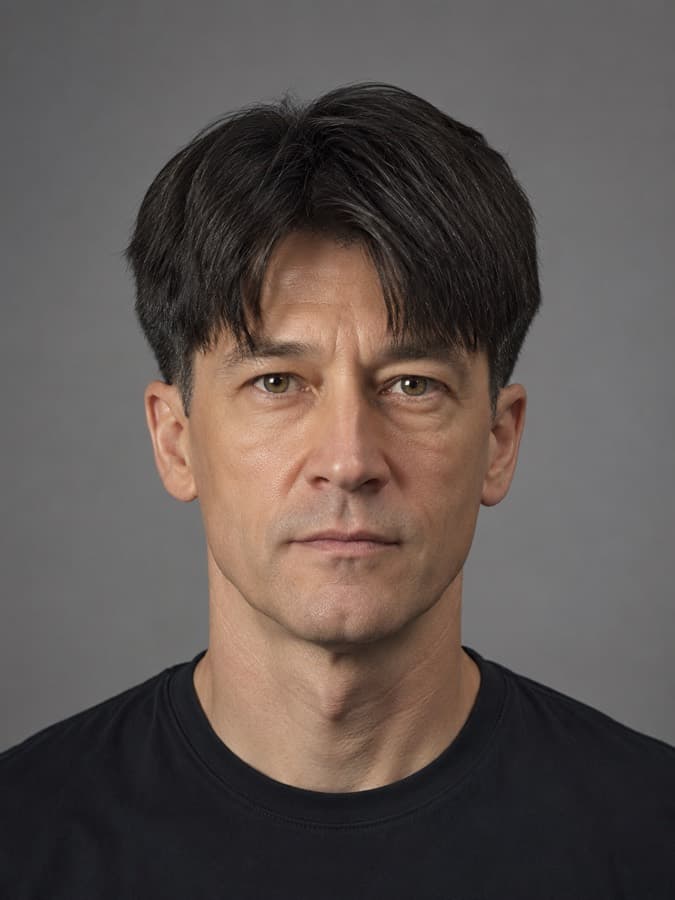
Each one carries the guard numbers, so you can lift the spec straight into the prompt above.
Read next
- The ChatGPT haircut prompt that actually worksThe full prompt, plus the four failures no prompt fixes.
- The two photos to take before any AI haircut try-onA shot list, the eight ruiners, and a prompt that grades you.
- Why AI changes your face in haircut photosFive causes of drift, five fixes, and the one that persists.