The two photos to take before any AI haircut try-on
Every AI haircut tool is downstream of your camera roll, and most of what goes wrong went wrong before the prompt. Two photographs, five minutes, and the failure modes are all avoidable.
5 MIN READ·UPDATED August 2026
Every AI haircut tool is downstream of your camera roll, and most of what goes wrong went wrong before you wrote a word of prompt. Two photographs, five minutes, one light source. Here is the shot list and the eight things that quietly ruin it.
The two shots
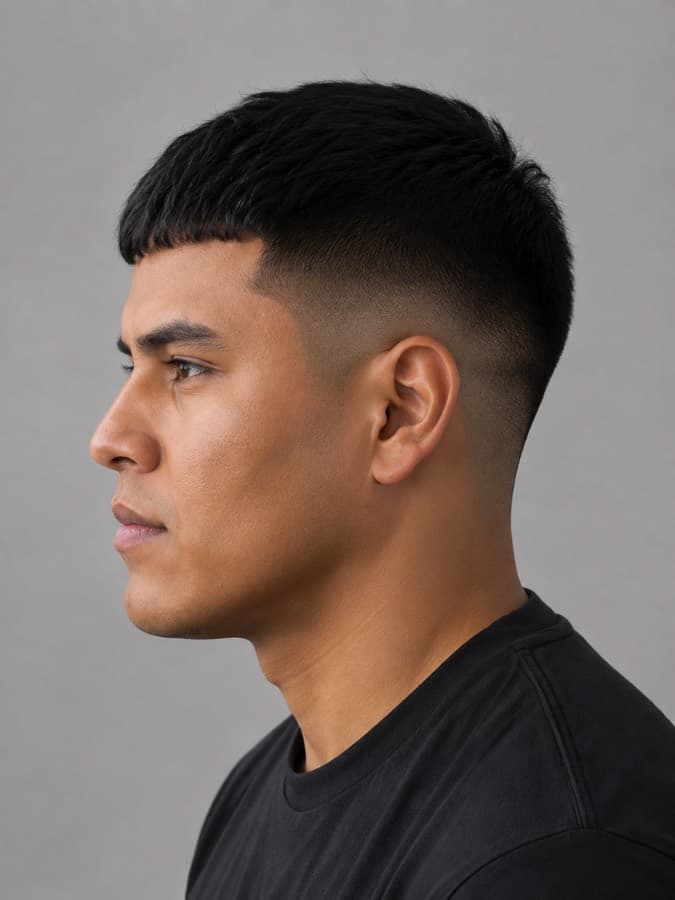
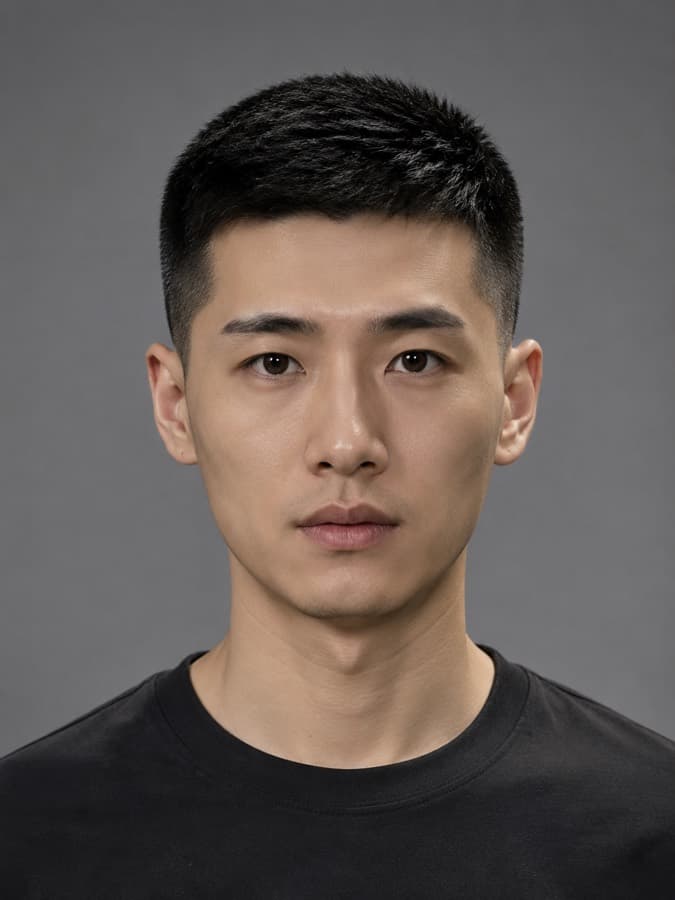
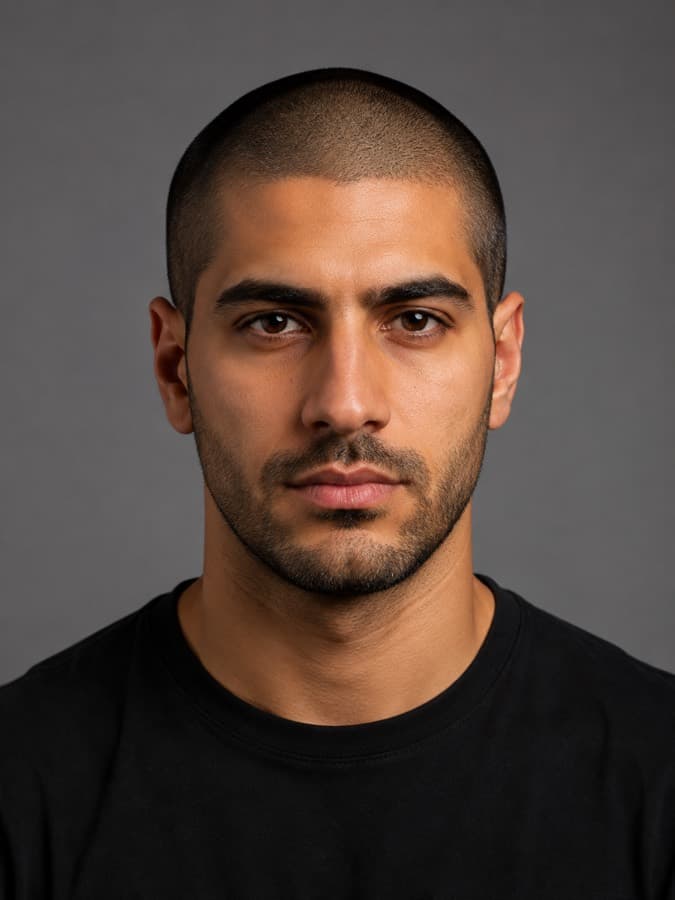
Front
- Camera at chin height. Not above, not below. Prop the phone against something at arm’s length rather than holding it out, which drags it upward without you noticing.
- Head level, eyes on the lens. No tilt, no chin lifted. A tilted head changes the apparent face shape, and face shape is one of the things you are asking to be read.
- Both ears visible. They are the landmark every fade height is measured against.
- Hairline showing. If your hair normally sits on your forehead, push it back for this one shot. The model needs to see where your hairline actually is, not where your fringe currently ends.
- Facing a window. Soft light from the front, nothing behind you. Overhead light is the single most common problem and it is the easiest to fix.
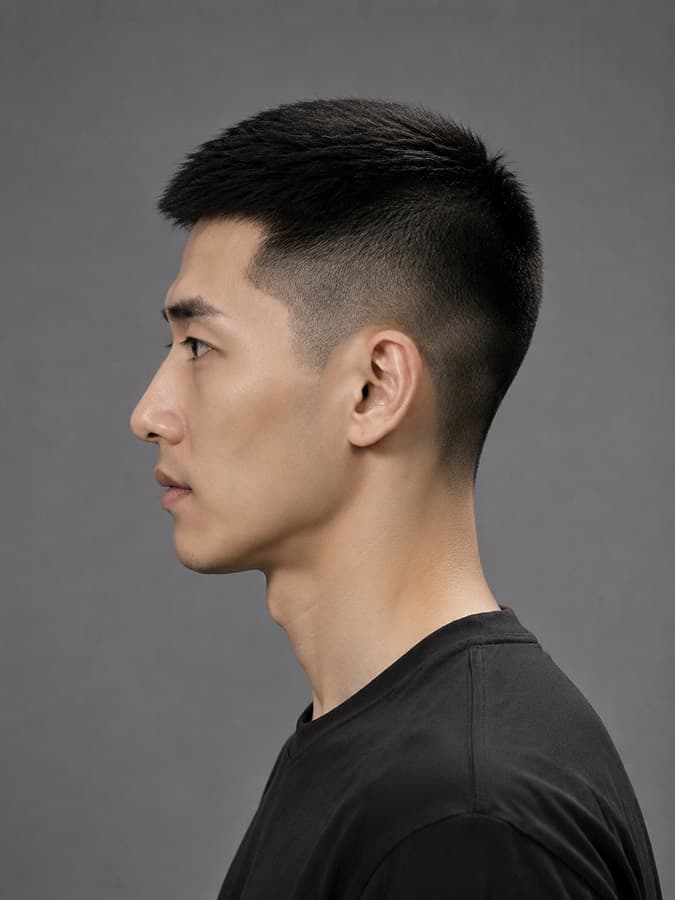
Side
- A true ninety degrees. Not the three-quarter angle everyone takes. Turn until the camera can see one eye and one ear, and no part of the far cheek.
- Same room, same light, same few minutes. Two shots taken on different days in different light give the model two slightly different men to average.
- Ear completely uncovered. Hair tucked back if it hangs over. The whole point of this shot is the space between the ear and the hairline.
- Chin level. Same head position as the front shot, rotated. Nothing else changes.
The eight things that ruin them
- The mirror selfie. It flips the image, so your part lands on the wrong side and everything built on it is a mirror of the haircut you would actually get. It also puts the phone in frame and usually lights you from directly overhead.
- Overhead light. A ceiling light blows out the forehead exactly where the hairline needs to be readable, and drops the eye sockets into shadow. Turn it off and face a window instead.
- A window behind you. Backlighting makes any head of hair read as thin, because the light comes through the edges. This is the single most common reason a density read comes back wrong.
- Shooting from above or below. Both change the proportions of your face, and the model reads the distorted proportions as your actual ones.
- Standing too close. A phone lens at fifteen centimetres enlarges whatever is nearest, which is your nose. Step back and let the crop do the framing.
- Product already in your hair. If it is styled, the model treats the styled shape as your natural one and renders a cut on top of a shape that is not really there. Dry and unstyled, straight out of a shower a few hours earlier.
- Hats, hoods, sunglasses, a hand in your hair. Anything covering the hairline removes the information the whole exercise depends on.
- A busy background. A crowded room gives the model more to reconstruct and makes a re-crop more likely. A plain wall costs nothing.
Have it grade your own photos
Before you spend an evening on prompts, spend thirty seconds on this. It edits nothing, it just tells you what to reshoot.
Two photographs are attached: a front shot and a side profile. Do not edit
anything. Grade them as source material for an AI hair edit.

For EACH photograph, mark PASS or FAIL on every row:

FOCUS — face sharp, not motion blurred
HAIRLINE — visible, not covered by a fringe, hat, hood or hand
EARS — visible and uncovered
LIGHTING — even on the face, no blown-out highlights on the forehead, no deep
  shadow across the eyes
BACKLIGHT — is there a bright window or lamp behind my head
ANGLE — camera at roughly chin height, not looking down or up at me
HEAD POSITION — upright and untilted; for the side shot, a true 90 degree
  profile rather than three-quarter
DISTANCE — far enough that the nose is not enlarged by the lens
BACKGROUND — plain enough not to compete with my head
CONSISTENCY — do the two photographs look like the same light and the same day

For every FAIL, tell me in one sentence exactly how to reshoot it.
End with a single verdict: USABLE or RESHOOT.
If more than two rows come back FAIL, reshoot both photographs rather than trying to work around them. It is five minutes against an evening of renders you will not trust.
Why the side shot is the one that matters
Most men skip it, and it is the photograph that decides whether the render means anything. A fade, a taper, a neckline and the blend height are all side and rear information. Given only a front shot, every tool available invents them, and it invents them plausibly enough that you do not notice until you are looking at the back of your own head in a handheld mirror.
With both, you can also render both, which is the check nobody runs: the front-and-side method puts the same cut on both photographs so you can see whether the tool actually agrees with itself.
Questions
- What photos do I need for an AI haircut try-on?
- One facing the camera straight on and one true side profile, taken in the same light in the same few minutes, hair dry and unstyled, forehead and both ears visible, shot from roughly chest height at arm's length or further. The side shot is the one people skip and it is the one that decides whether the fade is real or invented.
- Why do I need a side profile photo?
- Because most of a modern men's haircut is not on the front of your head. Fade height, taper, neckline and the shape of the back are all side and rear information. Given only a front shot the model invents them, which is why front-only renders look plausible until you turn around.
- Can I use a mirror selfie?
- Avoid it. A mirror flips the image, so your part lands on the wrong side and any render built on it is a mirror of the haircut you would actually get. It also puts the phone in the frame and usually lights you from directly overhead, which blows out the forehead exactly where the hairline needs to be legible.
Or skip the prompt and let it do the whole job.
FreshCutz runs this with both photos instead of one, with a reference photograph behind every cut so the style lands where you asked, and it hands back the guard numbers with the render. Two photos, about a minute.
First one free · 6 for $2.99
SEE IT ON YOUR FACE — FREECuts to run it on
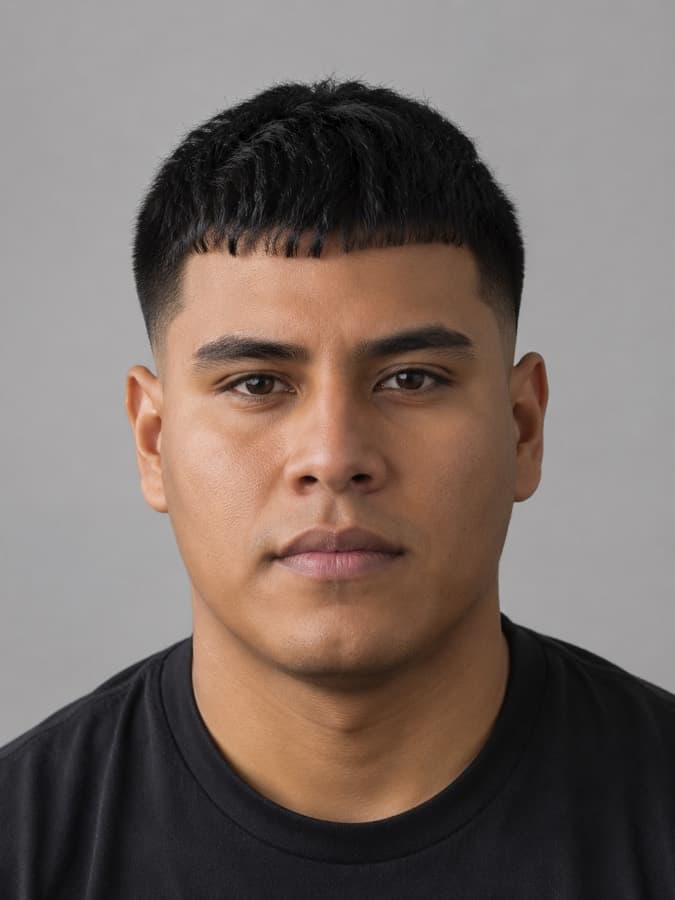
Each one carries the guard numbers, so you can lift the spec straight into the prompt above.
Read next
- The ChatGPT haircut prompt that actually worksThe full prompt, plus the four failures no prompt fixes.
- The Nano Banana hairstyle prompt, front and sideThree images in, one render out, and how to stop the bleed.
- Why AI changes your face in haircut photosFive causes of drift, five fixes, and the one that persists.